Fishing is often thought of as a serene and meditative pastime, but every seasoned angler knows it’s also an art form built on skill, patience, and knowledge. For those venturing into the world of saltwater angling, one of the most critical areas of mastery is knot tying. The strength of your knots can be the deciding factor between landing a trophy catch and letting “the one that got away” become yet another fish tale.
Come along with me on this journey as we delve into the essential tying techniques every saltwater angler should know. Picture yourself standing on a sandy shore with the salty breeze tousling your hair, ready to cast your line into the vast ocean. But before the adventure begins, let’s ensure you’re fully equipped with the skills to secure that catch firmly on your line.
The Importance of Knots in Saltwater Fishing
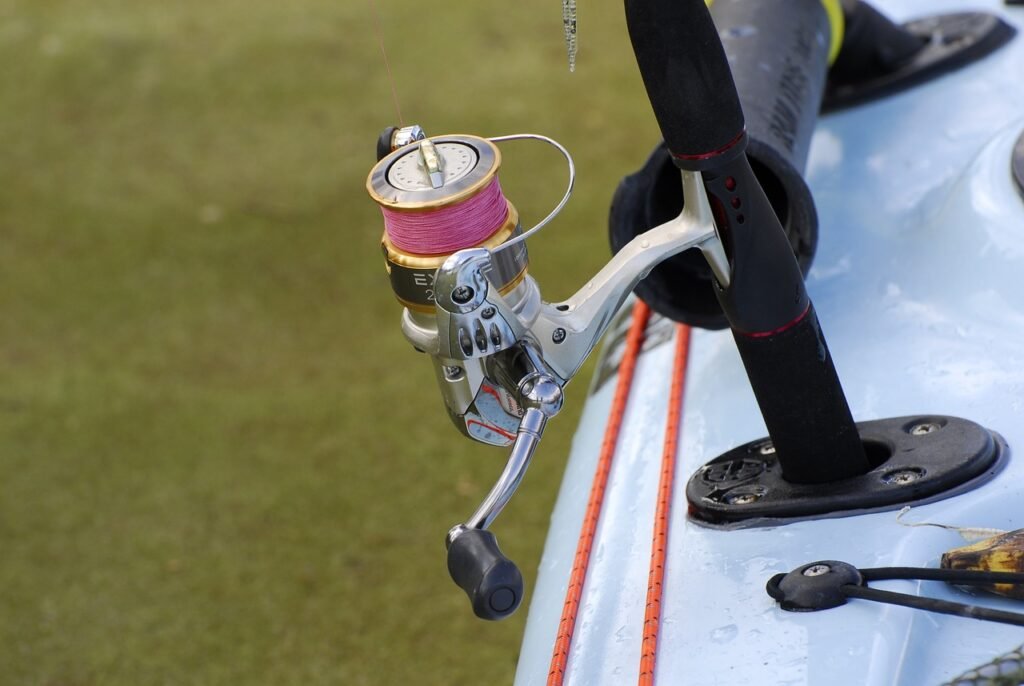
Saltwater fishing demands robust and reliable knots due to the fierce conditions and powerful fish you’re likely to encounter. The knots you use must withstand strong currents, abrasion from saltwater, and the sheer force of marine giants. Whether you’re casting from the shore, trolling offshore, or deep-sea fishing, having the right knots can make the difference between landing a trophy catch or going home empty-handed. Here are some fundamental knots that every saltwater angler should have in their repertoire, ensuring you’re prepared for any challenge the ocean throws your way.
The Improved Clinch Knot
Let’s start with the Improved Clinch Knot, a reliable friend to many anglers. This knot is essential for securing the fishing line to the hook, lure, or swivel. It’s simple yet incredibly effective, ensuring a strong connection between your line and tackle.
Steps to Tie the Improved Clinch Knot:
- Thread the Line: Take the end of the fishing line and carefully pass it through the eye of the hook. Then, double back and wrap the line around the standing line five to seven times, ensuring each turn is snug and evenly spaced. This creates a series of tightly wound coils that provide a base for a secure knot.
- Create a Loop: Bring the end of the line back towards the hook. Pass it through the first loop you created behind the eye of the hook. Make sure the loop is secure and that the line isn’t twisted. This step is crucial as it forms the initial structure of your knot, which will prevent the line from unraveling.
- Secure: Now, pass the end through the big loop you just made. Hold both the tag end and the mainline, and pull them tightly to secure the knot. Ensure the knot is firm and that the line doesn’t slip. You may want to moisten the line slightly with water or saliva before tightening, as this reduces friction and helps the knot to cinch down more smoothly.
- Trim: Use a pair of scissors or a nail clipper to snip off any excess tag end for a neat and tidy finish. This prevents the extra line from getting caught or tangled. Make sure to leave a small tail, approximately an eighth of an inch, to ensure the knot remains secure even under tension. A clean, well-trimmed knot not only looks professional but also minimizes the risk of snags and enhances the overall durability of your fishing setup.
The Palomar Knot
Next, let’s explore the Palomar Knot, known for its strength and simplicity. This knot is perfect for tying braided lines to hooks, making it a favorite among saltwater anglers who need reliability under pressure.
Steps to Tie the Palomar Knot:
- Double the Line: Begin by doubling about six inches of fishing line and carefully passing it through the eye of the hook. Ensure that the loop is even and the ends are aligned. This step is crucial for creating a strong foundation for your knot.
- Tie an Overhand Knot: With the hook hanging freely from the bottom, tie a loose overhand knot in the doubled line. This involves forming a simple loop and passing the ends of the line through it. Make sure the hook remains at the bottom of the loop created by the overhand knot for better control and precision.
- Pass the Hook: Gently pass the hook through the loop formed by the overhand knot. Take your time during this step to avoid tangling the line. Ensure the hook is positioned correctly within the loop, as this will determine the effectiveness and strength of the knot.
- Tighten: Firmly pull both the standing line and the tag end to tighten the knot securely. This step requires a steady hand to ensure that the knot cinches tightly against the hook eye. Once tightened, trim any excess line to prevent snagging on underwater debris or other obstacles. Double-check the knot’s strength by giving it a slight tug before casting to ensure it holds firm under pressure.
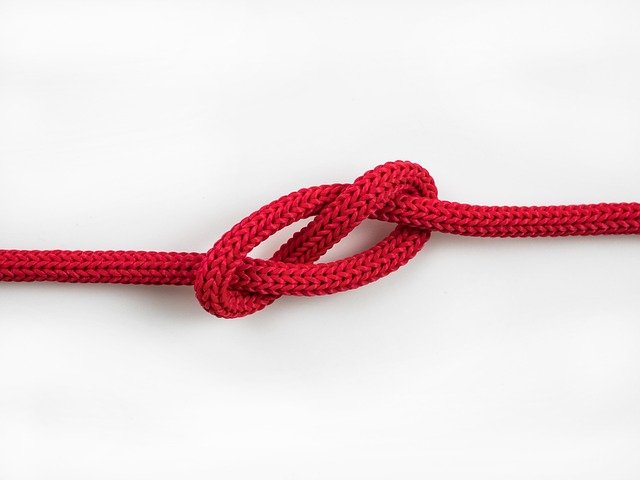
The Blood Knot
The Blood Knot is a bit more complex but vital for connecting two pieces of line together, especially when creating longer leaders or tying different types of lines.
Steps to Tie the Blood Knot:
- Overlap Lines: Begin by overlapping the ends of the two lines you’re tying together. Make sure they overlap by about six inches to ensure a strong hold. This overlap provides a solid foundation for the knot and prevents it from slipping under pressure.
- Wrap: Take one end of the line and wrap it around the other line approximately five times. Be careful to keep the wraps tight and aligned neatly. After wrapping, bring the end back and tuck it neatly between the two lines, ensuring it is snug and secure. This step is crucial for maintaining the knot’s integrity and strength.
- Repeat: Now, take the other end of the second line and repeat the wrapping process. Carefully wrap it around the opposite line five times as well, making sure each wrap is tight and orderly. Then, tuck this end through the center loop created by the wraps, ensuring it is secure. This repetition reinforces the knot from both sides, adding to its durability.
- Tighten: To finalize the knot, moisten it slightly, which helps in tightening by reducing friction. Next, pull both ends simultaneously to cinch the knot tightly. This ensures the knot is as tight as possible and won’t come undone. Finally, trim any excess tag ends to clean up the knot, ensuring it looks neat and professional. This final touch not only improves the knot’s appearance but also prevents the ends from fraying or catching on other objects.
The Bimini Twist
For those looking to strengthen their line’s breaking strain, the Bimini Twist is a game-changer. It’s particularly valuable when targeting large, powerful saltwater species.
Steps to Tie the Bimini Twist:
- Create a Loop: Start by forming a loop in the line, ensuring that it is large enough to work with comfortably. Twist the loop around itself approximately 20 times to create a series of tight coils. This step is crucial for establishing the base structure of your knot.
- Form a Helm: Once you have your twists, slide them towards the end of the loop. As you do this, you’ll notice a tight, spiral pattern forming. This spiral should be uniform and neatly coiled to ensure the knot’s strength and reliability.
- Lock the Twists: Take the loop and spread it slightly, making sure to hold the twists in place to prevent them from unraveling. Carefully wrap the loop around the main line three to four times. This anchoring step locks your twists and starts to form the body of the knot.
- Finish: To secure the knot, tie a half hitch around the base of the loop. This initial tie will hold everything in place. For added security, finish with a series of half hitches around both strands of the loop. This final step ensures your knot is tight and secure, ready for use.
Practical Tips for Perfecting Your Knots
Learning the essential knots is just the beginning. Here are a few practical tips to ensure your knots are always up to the task:
- Practice Makes Perfect: Spend ample time practicing these knots at home. Repetition will help build muscle memory, making tying them in the field feel like second nature. Consider setting aside a few minutes each day to refine your technique.
- Moisten Before Tightening: Always moisten the knot before pulling it tight. This simple step reduces friction, which can weaken the line, and helps the knot cinch down uniformly. A bit of water or even saliva can do the trick.
- Inspect Your Knots: Before casting, always give your knots a thorough inspection. Look for any signs of slippage, fraying, or wear. A weak knot can mean the difference between landing a big catch and losing it, so taking a moment to check can save you from disappointment.
- Use Quality Line: Even the best-tied knots can fail if the line itself is weak. Invest in high-quality fishing line specifically designed for the conditions you’ll be facing, such as saltwater. Quality lines are more durable and resistant to abrasion, ensuring better performance.
- Stay Calm: In the heat of the moment, especially when a big fish is on the line, it’s easy to rush and make mistakes. Take a deep breath, stay calm, and tie your knots carefully and deliberately. Precision is crucial to avoid errors that could cost you your catch.
Conclusion
With these knots in your arsenal, you’re well on your way to becoming a skilled saltwater angler. Imagine yourself out there on the water, the sun sinking low on the horizon, casting your line with confidence because you know your knots will hold.
Remember, every angler starts somewhere, and the journey to mastery is part of the adventure. Whether you’re hooking a monstrous marlin or a feisty snapper, the right knot can make all the difference. So, embrace the art of knot tying, practice diligently, and soon you’ll find yourself weaving stories of the great catches you’ve secured with your newfound skills. Happy fishing, and may your lines be tight and your knots be strong!